


Homemade Cadbury Creme Eggs are a given at Easter time. I created this recipe six years ago, and it’s become a classic. I’ve tweaked my method over the years to something a little less messy, but both options work out in the end. You can choose whatever works depending on what tools you have at home.
In the original method, the filling is made first, shaped into an egg form using mini plastic eggs and frozen. The frozen filling is dipped in chocolate, the chocolate hardens immediately so when the filling softens, the chocolate shell holds it in.
It’s awesome, but messy. Chocolate is everywhere. The upside is that it’s easy to find mini plastic eggs this time of year. I even made them without molds one year. I just made balls by hand and called them “Rabbit Eggs”.
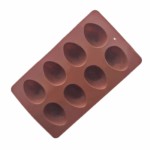
My new method is more true to the way a real Cadbury Creme Egg is made, but requires having an egg-shaped chocolate candy mold. I found mine at Target, but Global Sugar Art is a great resource for molds and foil wrappers.
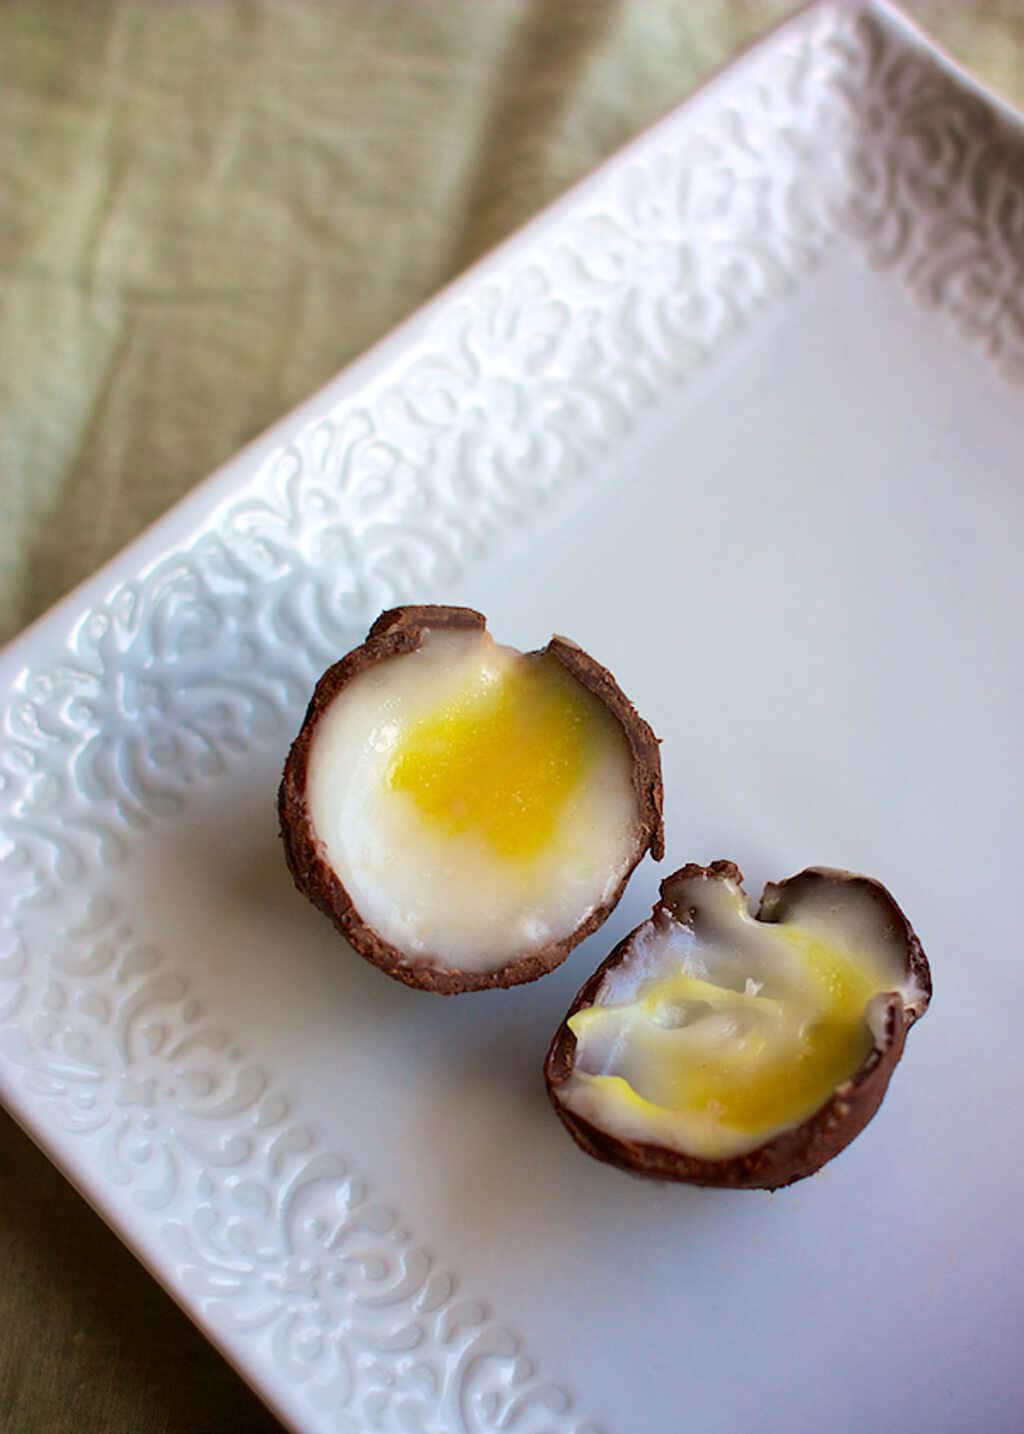
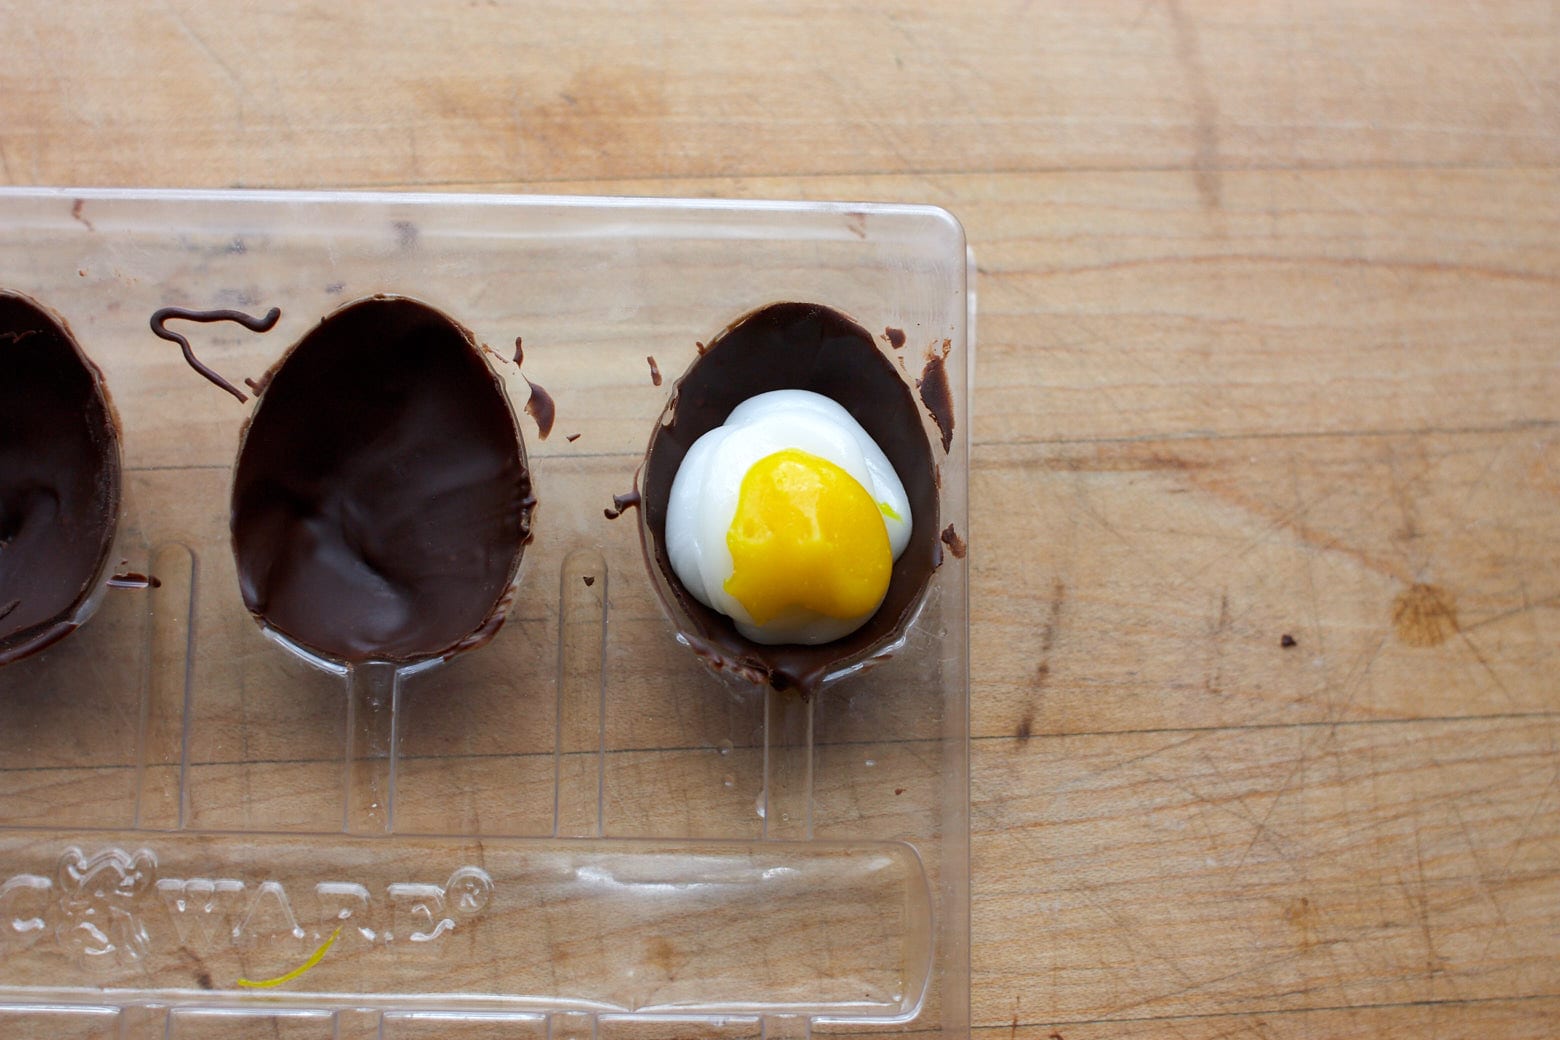
Of course, reverse-engineering the Cadbury Creme Egg took some serious field research. At least a half dozen eggs were consumed in the making of this post. I’m very dedicated. In this more authentic method, the chocolate shell is made first in two halves. The filling is added, the chocolate shells are stuck together with melted chocolate.
Either way, the kids are just thrilled. That sweet sunny yellow yolk never fails to bring about sticky happy smiles. Happy Easter!
Print
Homemade Cadbury Eggs
- Prep Time: 1 hour
- Total Time: 1 hour
- Yield: 12 eggs 1x
Description
Homemade Cadbury Cream Eggs, a dairy-free, egg-free and vegan copy-cat recipe! These take a bit of effort, but they’re very fun to make.
Ingredients
- ½ cup corn syrup
- ¼ cup dairy-free margarine or shortening (margarine tastes better and the final result is softer, but shortening holds its shape better during the process)
- Splash of vanilla extract (too much and your egg white turns tan)
- 1 pinch of salt
- 2–3 cups powdered sugar
- 1 cup of safe chocolate chips for making the shells (I used Divvies this time)
- 1 teaspoon of shortening
Instructions
- With a hand mixer or stand mixer, blend the corn syrup and margarine together until creamy, add in the vanilla and salt and blend again.
- Carefully add the powdered sugar 1 cup at a time and mix until creamy and smooth.
- Divide ⅓ of the filling out and color with yellow food coloring. Wrap both colors in plastic wrap and refrigerate while you make the chocolate eggs.
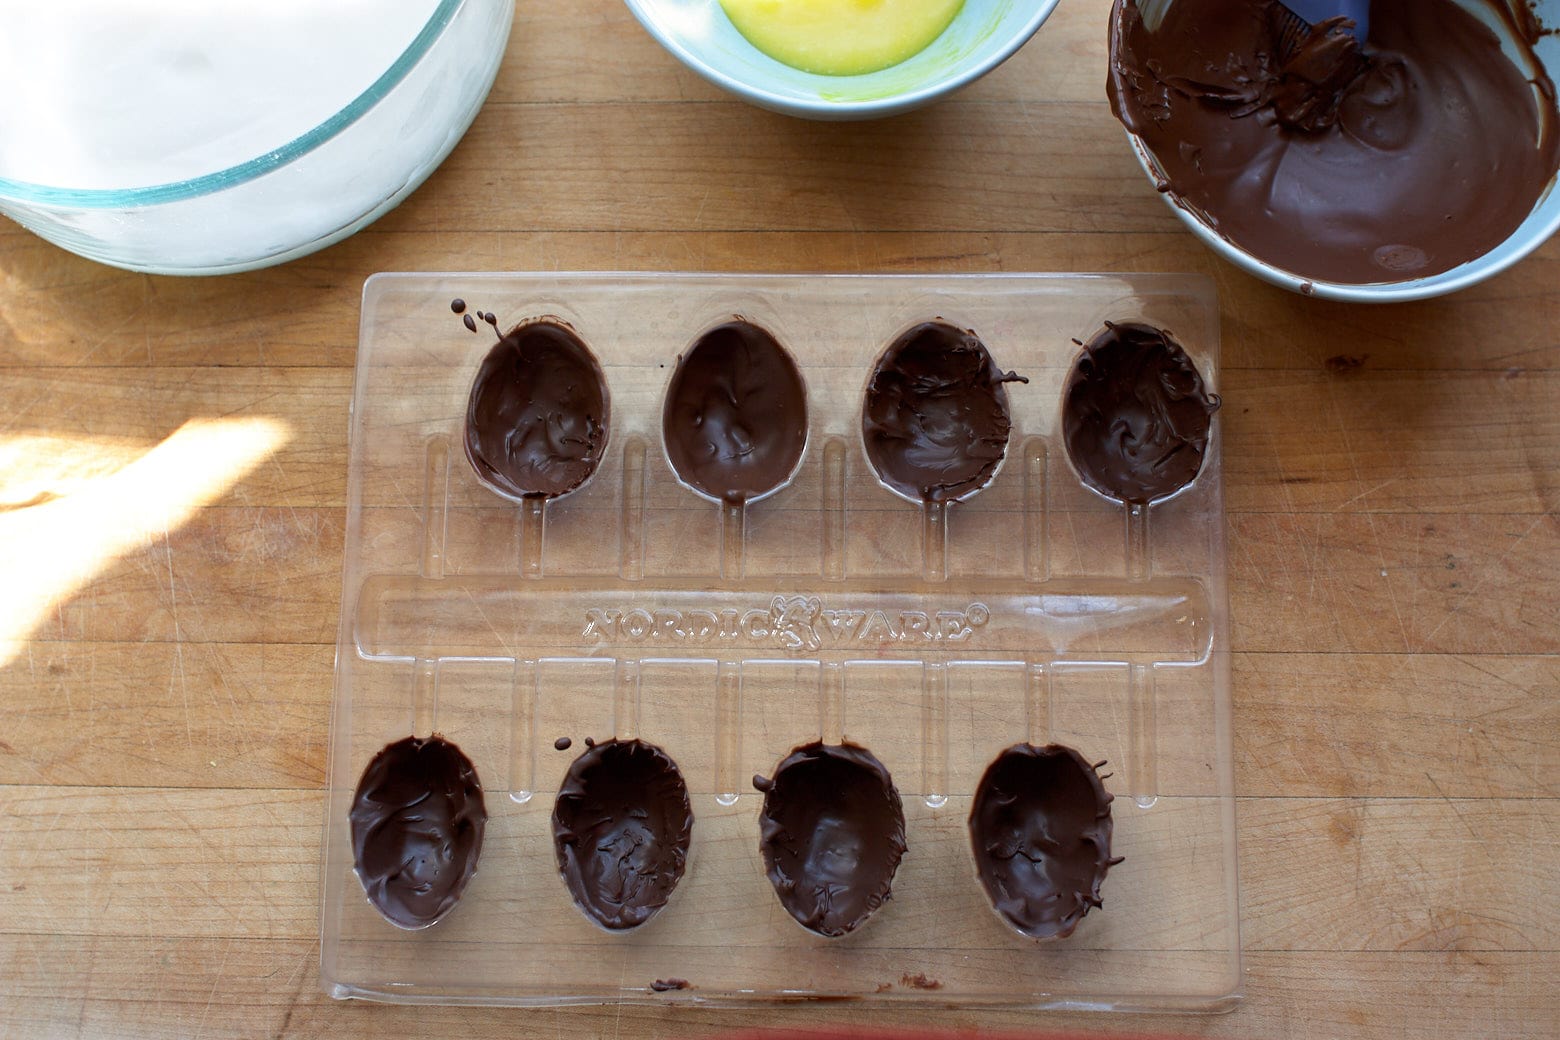
- Melt the chocolate chips in the microwave with the shortening. (Using a little shortening shortening helps thin the chocolate, and is a cheater’s way to avoid the dusty “bloom” that happens when ill-tempered chocolate dries…I can’t temper chocolate to save my life…so I’ve given up)
- With a pastry brush, coat the sides of the egg molds with a thick coating of chocolate.
- Allow the chocolate to harden completely and remove from the molds.
- Add a spoonful of white fondant and some yellow fondant inside one half, brush or pipe some melted chocolate around the edges of the egg and add the other half, using the chocolate as glue.
- Trim the edges to make them pretty.
- Wrap in foil and store at room temp if you plan to eat them in a few days, otherwise refrigerate for a few weeks.

Notes
See my post on dairy-free butter alternatives if you need sources.
- Category: Candy
- Method: Hand Shaped
- Cuisine: American
Keywords: dairy-free chocolate eggs, dairy-free Easter candy
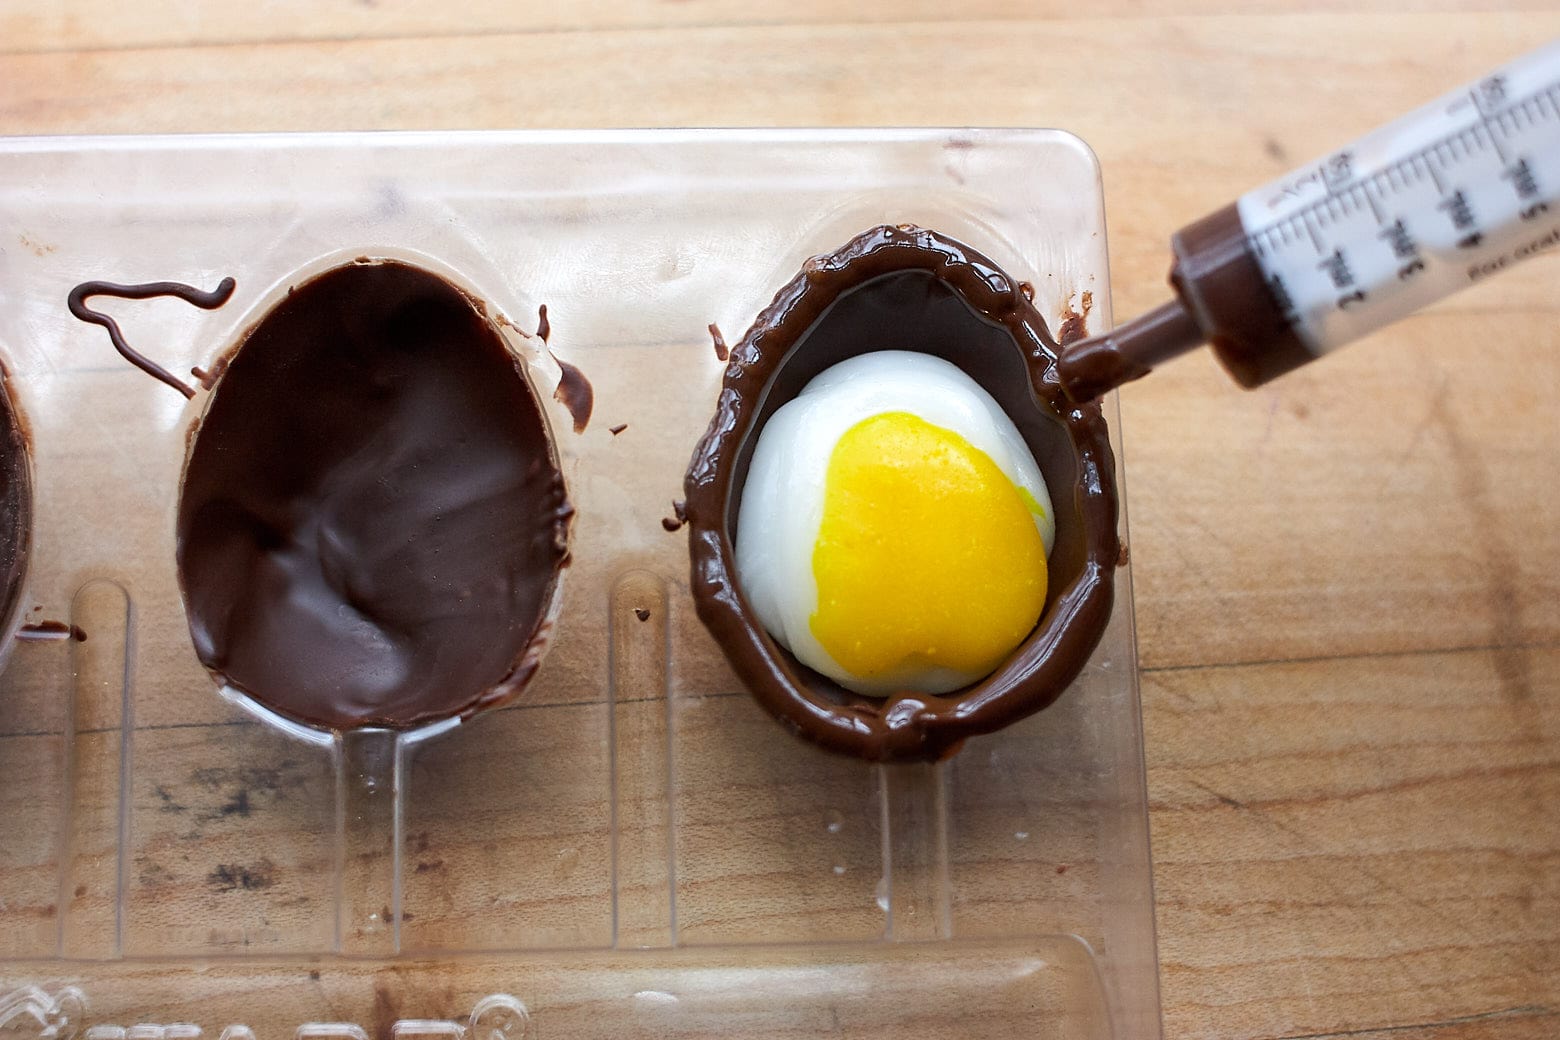
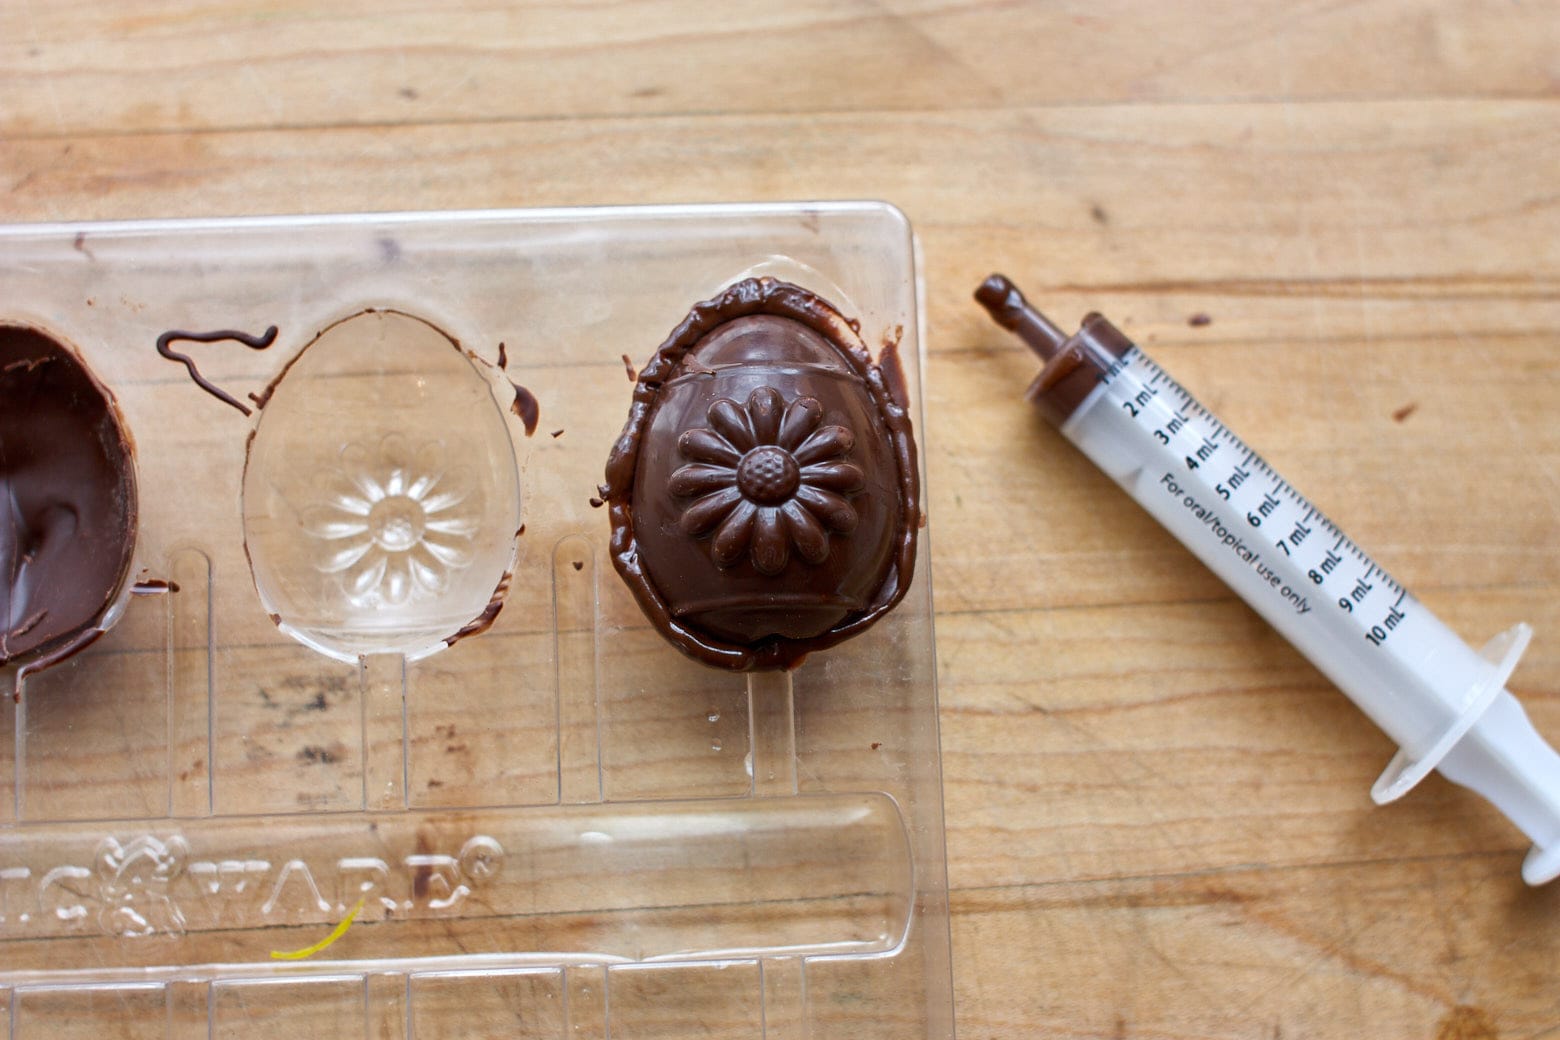
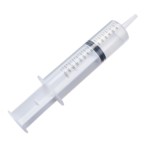
Yes, I use a medicine syringe to apply to chocolate “glue”. Works great.
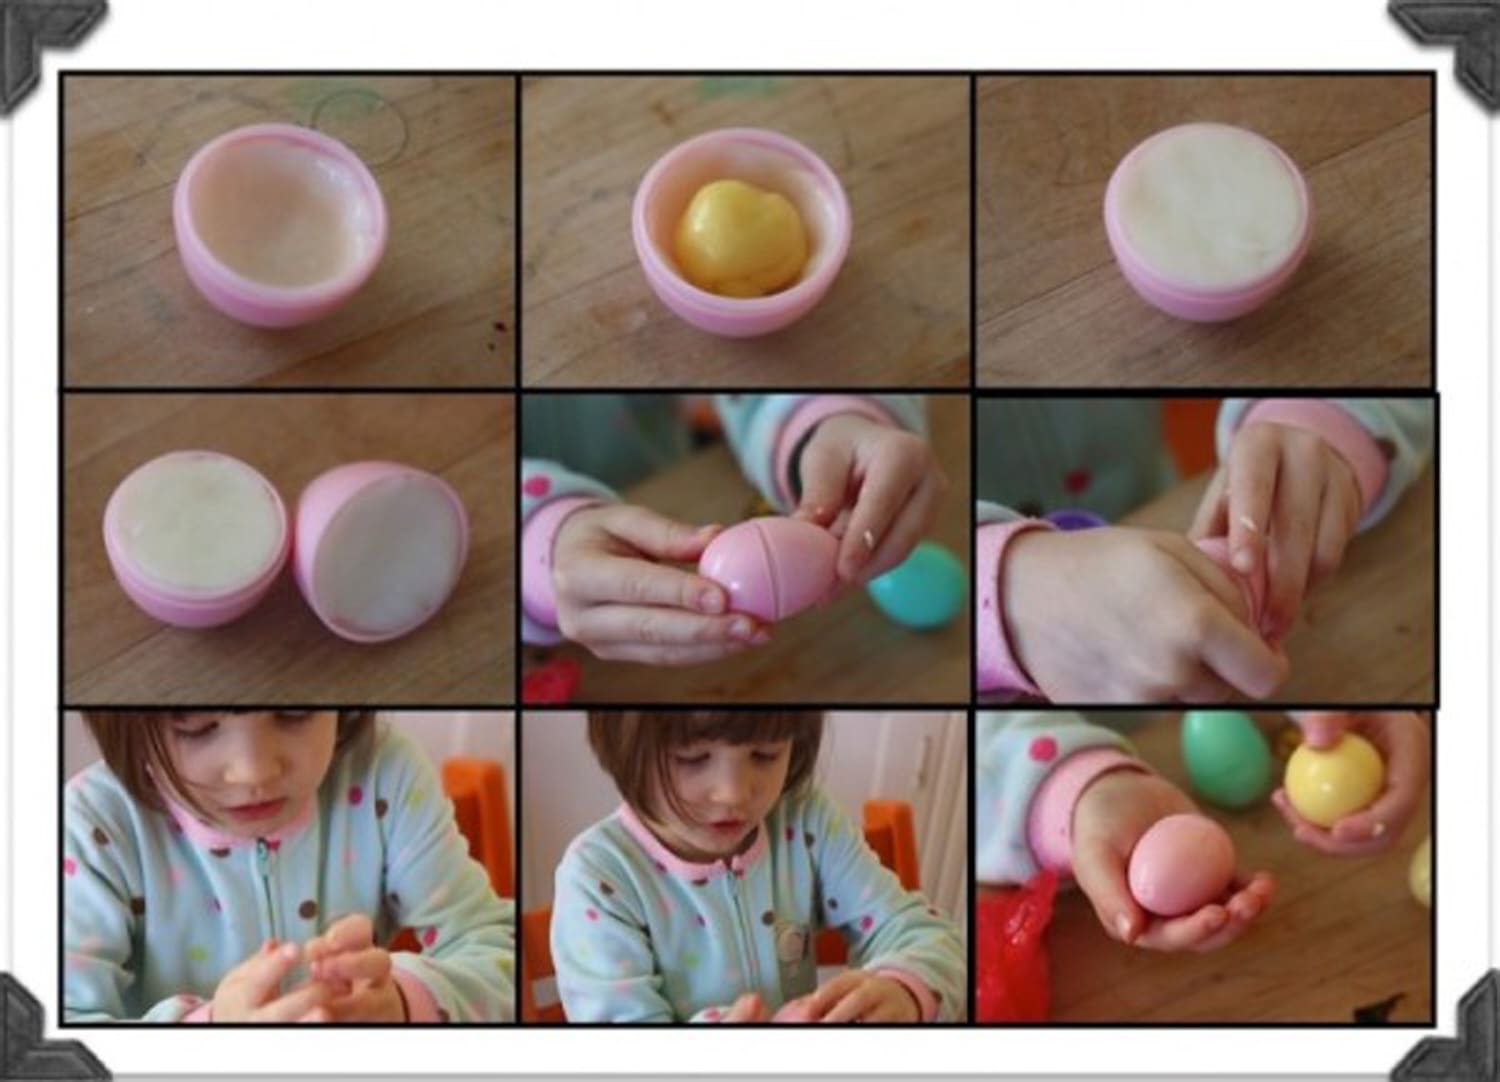
The original “filling first” method using small plastic eggs, and my 4 year old little helper!
Thank you! These look great & will be a very exciting thing to try with my kiddos.
Since I discovered your post 2 days before Easter, I made the filling to go into some hollow eggs that are non-allergen for us from Europe. I used organic sustainable-sourced shortening, non-gmo organic corn syrup, and turmeric as the yellow coloring. They were SO good!! Everyone had fun cracking open their eggs to fill. I’m so happy I stumbled upon your post! Thank you 🙂
I’m so excited to try this recipe! Between my two girls, we have to avoid peanuts, tree nuts, soy and dairy. They have never had a Cadbury egg, which has always been a guilty pleasure of mine at Easter. I was looking for a pie crust recipe with spectrum shortening and happened upon your blog. I’ve read countless recipes and am so excited to try them all! I love that you said chocolate and bacon are fun treats, mine love them, too! Thanks for sharing these with other allergy moms and kids!