

Today I taught the girls how to make Dutch Apple Pie for Thanksgiving, and it was one of the most harrowing parenting events in recent memory. I realize it takes practice to handle a paring knife well, but watching the process happen in real time is truly horrifying.
My ideas about common sense and human self-preservation were quite shaken. Knowing not to point a knife at your own palm seems to be a learned skill, not intuitive. Thankfully, we survived without any blood. I navigated that fine line between being a good mom and someone calling DHS…for yet another day. Phew.
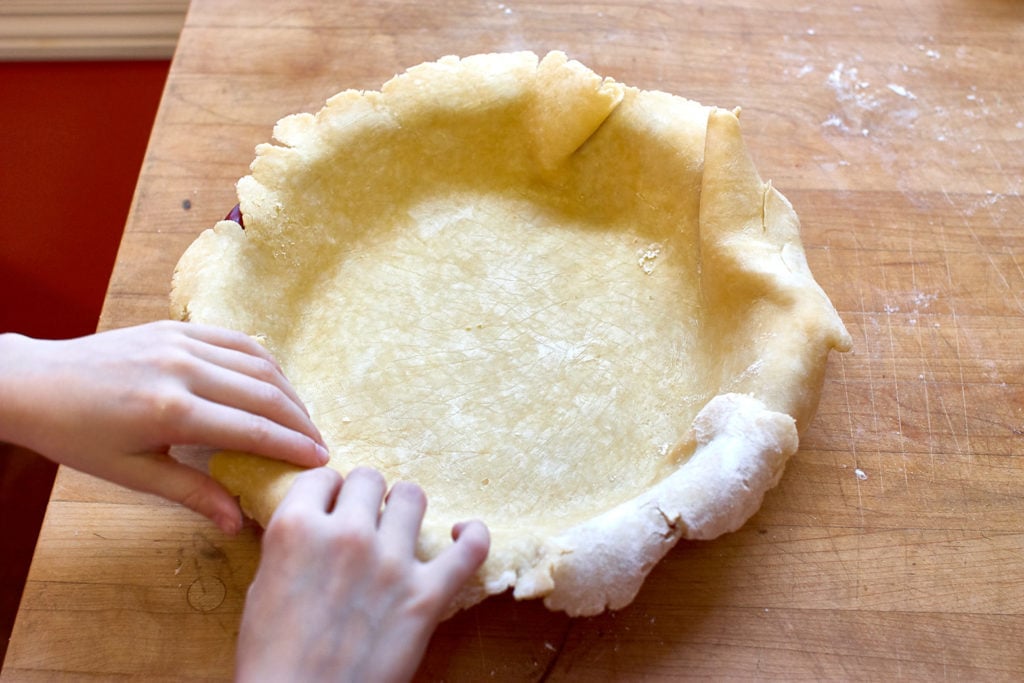
The resulting pie was quite impressive. I made the crust a few weeks ago, so the girls just had to roll it out and maneuver it into the pie pan. I’ll leave teaching them pie crust for another day. Tweens with knives was enough for today. If crust seems overwhelming, just get a Pillsbury Refrigerated Pie Crust, it’s dairy, egg and nut-free. If you’re ambitious and want to go full-scratch pie, I have a more detailed post on the crust recipe, Dairy-Free Pie Crust 101.
For apple pie, I tend to mix up my apples. Today I used Northern Spy, Macintosh, Golden Delicious and Jonagold, my favorite combination of sweet and tart apples. I’m a recent convert to baking my pies in parchment bags, it’s nearly foolproof. Baking in a parchment bag allows high heat baking without constantly monitoring the top crust for burning. No more burnt fingers trying to put foil around the blackening crust edges. It also solves the other problem of pies bubbling over and burning on the bottom of the oven.
Some recipes use regular brown paper grocery bags, I tried that once and the smell of toasting brown paper bag is not pleasant, so I stick with parchment. I staple 3 pieces of parchment together and wrap around the pie, then fold and staple the edges together.
Have fun baking. Because I love stories of disaster, I hope someone else out there tries baking dangerously with their kids and reports back.
Happy Thanksgiving!



Wrapped and off to the oven!
Print
Dutch Apple Pie in a Bag
- Total Time: 1 hour 30 minutes
- Yield: 1 pie 1x
Description
This dairy-free Dutch Apple Pie bakes perfectly in a parchment bag. This unconventional method keeps the crumble from burning and keeps any drips from burning on the oven floor.
Ingredients
- 1 pie crust, recipe below
- 3 1/2 pounds apples, peeled, cored & thinly sliced
- 3/4 cup brown sugar
- 1/2 teaspoon cinnamon
- 1/4 teaspoon nutmeg
- 1/8 teaspoon allspice
- 1/4 teaspoon salt
- 2 Tablespoons cornstarch
- 2 Tablespoons lemon juice
- 1 Tablespoon applejack, calvados or other brandy (optional)
- 1 teaspoon vanilla
Streusel Topping
- 3/4 cup flour
- 1/2 cup white sugar
- 1/2 cup shortening or dairy-free margarine, chilled & cut into pieces.
- pinch of salt
Instructions
- Preheat oven to 425.
- Roll the pie crust out and put it into a deep dish pie pan, crimp the edges. Place pie plate in the freezer while you make the filling.
- Mix the apple filling up in a microwave safe bowl.
- You don’t have to, but I put the apple filling in the microwave for a few minutes to warm it up and get the juices flowing.
- Pour the apple filling into the pie crust.
- Make the streusel topping by hand or in a food processor, don’t overmix it into a blob, keep it crumbly.
- Top with streusel topping.
- Wrap pie with some parchment paper and staple the edges shut.
- Place the pie on a cookie sheet and bake for 1 hour.
- After an hour, you can peek to make sure the pie is done by tearing the parchment back, sometimes it needs a couple minutes longer for it to start bubbling with a golden brown top.


- Prep Time: 30 minutes
- Cook Time: 1 hour
- Category: Pie
- Method: Baked
- Cuisine: American

Basic Dairy-Free Pie Crust
- Total Time: 15 minutes
- Yield: 2 pie crusts 1x
Description
If you’re new to pie crust, more detailed instructions are here: Dairy Free Pie Crust 101
Ingredients
- 3 cups flour
- 1 teaspoon salt
- 1 cup frozen shortening chopped (I put 1 cup of shortening in plastic wrap and flatten it down into a disk and freeze, then chop right before using)
- 1/2 cup ice water
Instructions
- Measure the flour and salt into the bowl of a food processor and give it a few pulses to mix.
- Add half the shortening and pulse until there are no big pieces at all.
- Add the second half of the shortening and give it 6-8 pulses until the shortening pieces are small, about the size of a pea.
- Sprinkle the ice water on top and use a knife to gently swirl the water around the dough in food processor bowl.
- Pulse another 6-8 times until the crumbly dough comes together, but don’t overdo it.
- Dump the dough out onto the counter, divide into two pieces.
- Form into two disks, wrap in plastic wrap and chill.
- Freeze if you’re not going to use these for a few days. They store frozen for many months.


Notes
- Prep Time: 15 minutes
- Category: Pie
- Method: Mixed
- Cuisine: American

Pie in a bag sounds interesting— My mother is notoriously difficult to buy presents for, but after 20+ years of watching her struggle with foil, I tried buying her one of the metal circle things (much like this one http://www.amazon.com/Andersons-Baking-Crust-Shield-10-Inch/dp/B00004S1BU ). She still swears it is one of the very best gifts she’s ever received in her life. I’m still mystified why that made it to the gift pantheon, when other things have fallen completely flat.
Where have you been? Pretty please post soon. It was a dull Christmas without your new recipes to try!!! I’m going through withdrawals 😉